|
|||||||||||||||||||||||||||||||||||||||||||||||||||
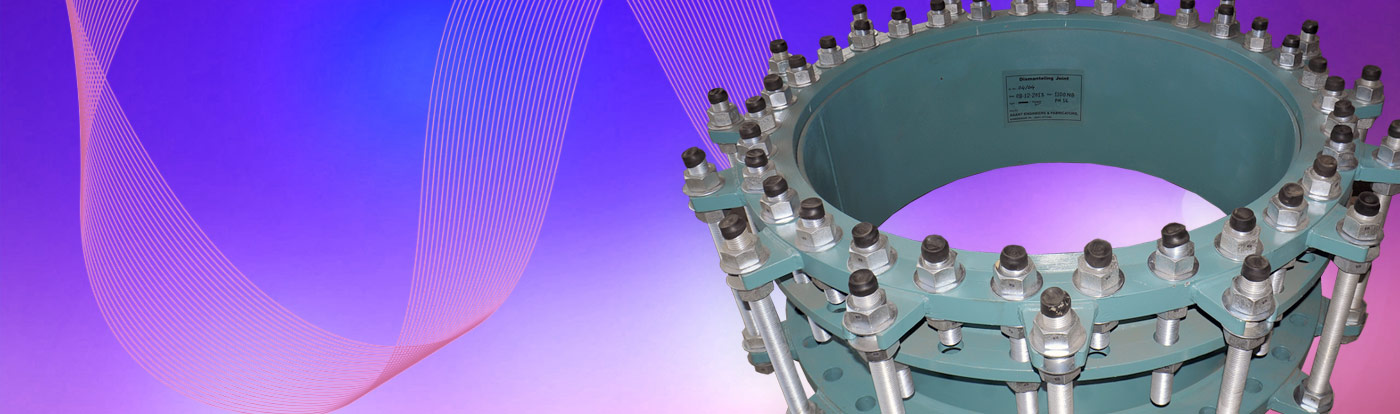
MS (Mild Steel) Dismantling Joints
Dismantling Joints play a decisive role in the design and layout of pipelines and valves. They are an essential aid during the installation and removal of pipe sections and valves.
learn more
Introduction
M/s. Anant Hydro Engineers L L P is one of the leading Manufacturing Company in Water Supply Pipeline Accessories in India.
learn more
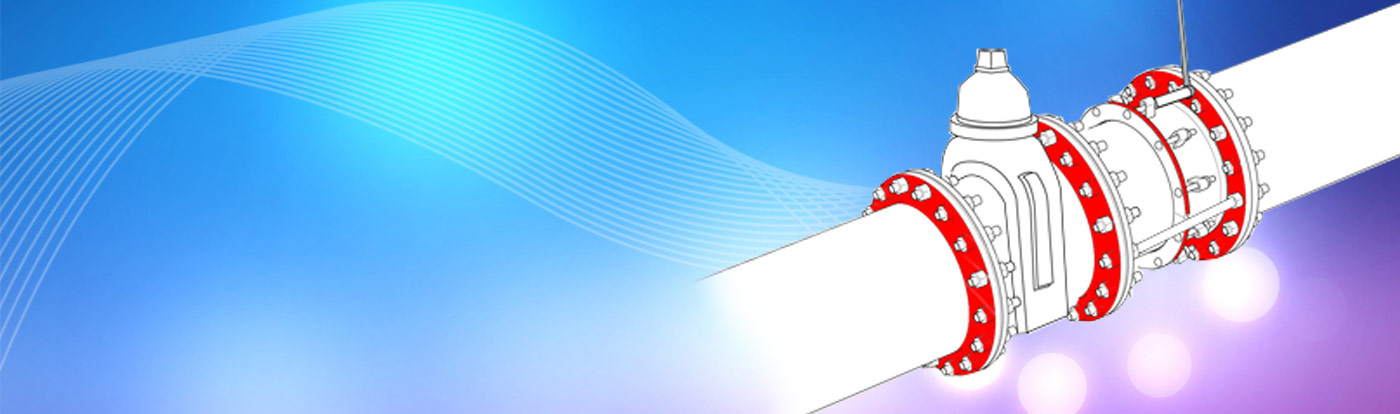
Dismantling Joints Installation
Check the DJ400 parts to ensure no damage occurred during transit and that no parts are missing.
learn more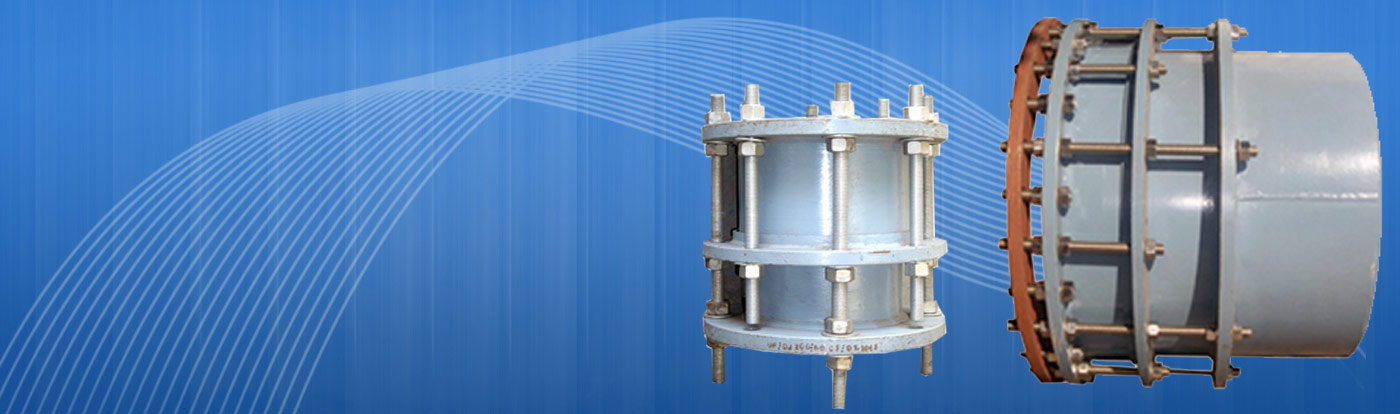
Design Principle
The flange adaptor is located on one side of the dismantling joint. It is connected securely to the pipe or valve via the flange.
learn more
|
|||||||||||||||||||||||||||||||||||||||||||||||||||


